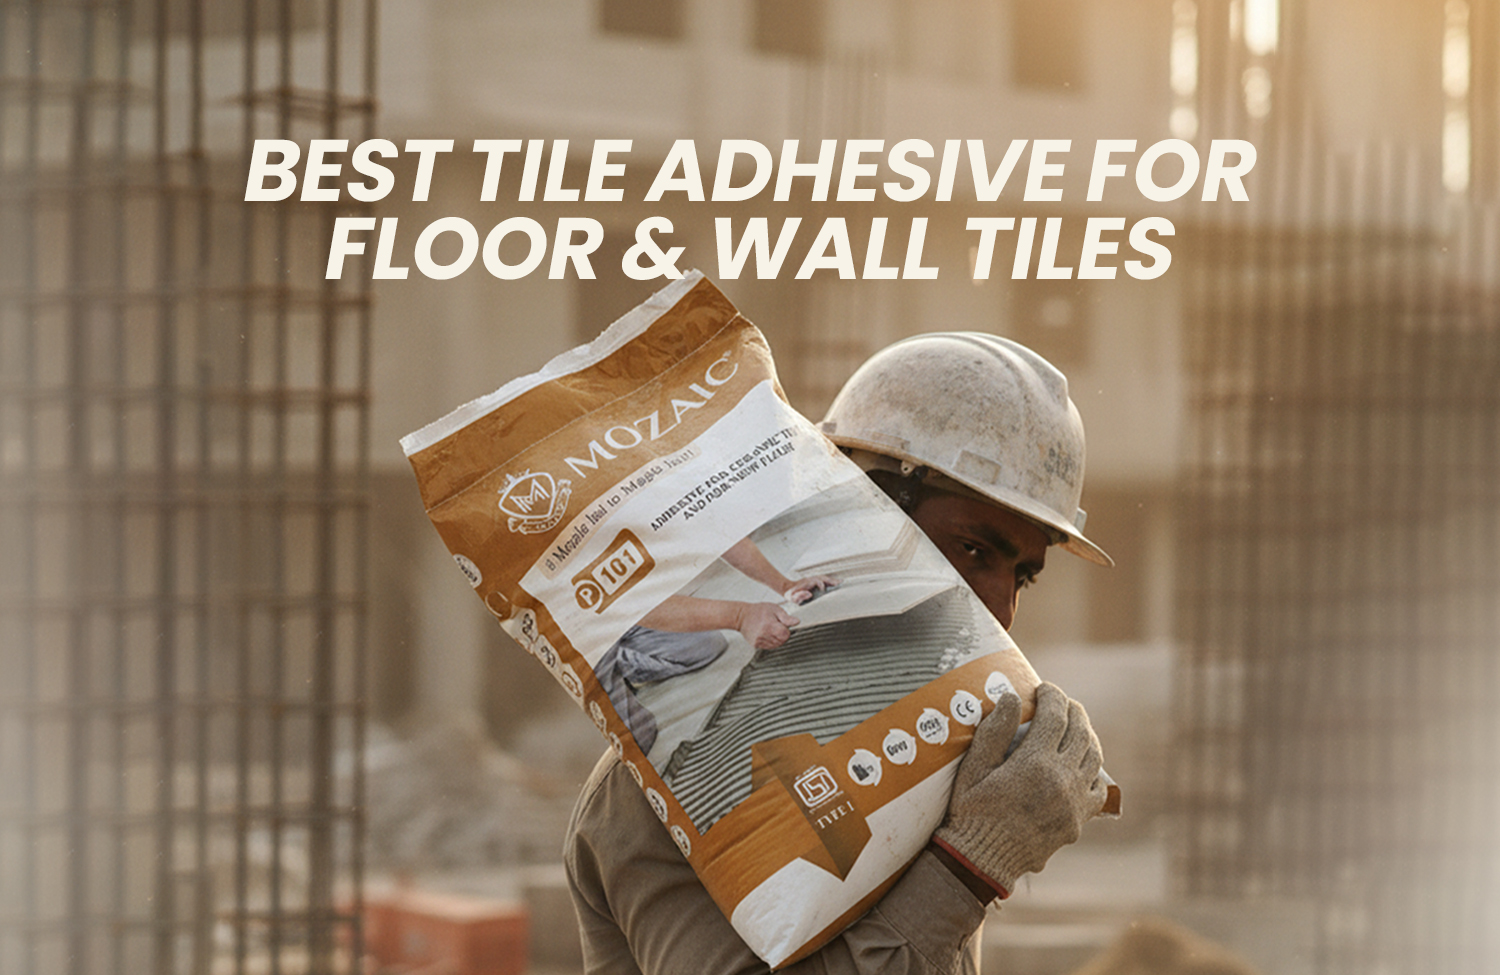
Tiles are an undying addition to any domestic or commercial space, supplying stability, aesthetics, and versatility. Whether you are installing tiles on a wall, ground, or countertop, the important thing to a protracted-lasting and professional end lies in the usage of tile adhesives. Unlike traditional strategies like mortar or cement, tile adhesives are particularly designed to provide advanced bonding, making the tiling procedure less complicated and more efficient.
In this complete guide, we’ll stroll you through the step-by-step process of fixing tiles with tile adhesive to make certain a faultless setup that stands the test of time.
Why Use Tile Adhesive?
Tile adhesives have come to be the desired preference for both experts and DIY lovers because of their several benefits:
- Strong Bonding: Tile adhesives offer a stable bond among the tile and the substrate, preventing cracking or loosening through the years.
- Flexibility: They accommodate slight movements in the substrate, making them perfect for areas with temperature fluctuations or vibrations.
- Ease of Application: Tile adhesives are pre-blended or available as clean-to-blend powders, simplifying the tiling method.
- Versatility: They paint with diverse sorts of tiles, inclusive of ceramic, porcelain, stone, and glass, as well as on more than one surface like concrete, drywall, and wood.
Tools and Materials You’ll Need
Before starting the challenge, collect the essential equipment and materials:
- Tiles (ceramic, porcelain, or any kind)
- Tile adhesive
- Notched trowel
- Measuring tape
- Spirit level
- Tile spacers
- Tile cutter
- Bucket and combining paddle (for powdered adhesives)
- Sponge and easy fabric
- Grout and grout waft
- Safety equipment (gloves and goggles)
Step 1: Prepare the Surface
- A nicely prepared floor is the inspiration of a hit tile installation.
- Clean the Surface: Ensure the substrate is clean, dry, and free of dirt, grease, or loose debris. Use a vacuum or damp fabric for thorough cleaning.
- Repair Damages: Fill any cracks, holes, or choppy areas with a leveling compound or filler to create a smooth or even base.
- Prime the Surface: Apply a primer if required, specifically for porous or non-absorbent surfaces, to improve adhesive bonding.
Step 2: Plan the Layout
- Careful planning prevents errors and guarantees a visually appealing end result.
- Measure and Mark: Use a measuring tape to mark the center of the location to be tiled.
- This will function as a reference factor for your tile placement.
- Dry Lay the Tiles: Lay the tiles at the surface without adhesive to decide the first-rate layout, mainly in corners and edges.
- Adjust for Cuts: Mark tiles that need cutting to shape edges or boundaries, and use a tile cutter to make specific cuts.
Step 3: Prepare the tile adhesive.
- Preparing the adhesive efficiently is essential for strong bonding.
- Read the instructions: Follow the manufacturer’s hints on mixing ratios and application strategies.
- Mix the Adhesive: If the use of powdered adhesive, blend it with water in a bucket using a mixing paddle till you acquire an easy, lump-free consistency.
- Check Consistency: The adhesive has to be thick enough to preserve its form, however pliable enough to unfold easily.
Step 4: Apply the tile adhesive
Now it’s time to start fixing your tiles!
- Spread the Adhesive: Use a notched trowel to use a layer of adhesive on a small segment of the floor. Hold the trowel at a 45-degree angle to create grooves.
- Work in Sections: To save the adhesive from drying out, work on small areas (approximately 1 square meter) at a time.
- Back Butter (Optional): For larger or heavier tiles, observe a thin layer of adhesive to the back of each tile for additional bonding energy.
Step 5: Place the Tiles
- Position the Tiles: Place the primary tile at the marked middle factor, pressing it firmly into the adhesive. Use a mild twisting motion to ensure full touch.
- Use Tile Spacers: Insert spacers between tiles to maintain even spacing and steady grout lines.
- Check Alignment: Use a spirit degree to make sure the tiles are immediately and even.
- Adjust as needed before the adhesive units.
- Continue Laying Tiles: Repeat the method, working outward from the center and checking alignment frequently.
Step 6: Cut and Fit Tiles
- Edges and corners regularly require custom tile cuts.
- Measure and Mark: Measure the space for part or nook tiles and mark the tile for reducing.
- Cut the Tile: Use a tile cutter or wet saw to make unique cuts. For complex shapes, a tile nipper can be required.
- Place Cut Tiles: Apply adhesive and fix the reduced tiles in the area, making sure they align with the rest of the layout.
Step 7: Allow the adhesive to set
- Wait for Drying: Allow the adhesive to remedy as according to the producer’s commands, typically 24-forty eight hours. Avoid walking on or annoying the tiles at some point of this time.
- Remove Tile Spacers: Once the adhesive has set, carefully put off all spacers.
Step 8: Apply Grout
- Grout not only seals the gaps among tiles but also complements the general finish.
- Mix the Grout: Prepare the grout as per the producer’s instructions, making sure of a smooth consistency.
- Apply the Grout: Use a grout and go with the flow to spread the grout diagonally across the tiles, pressing it into the joints.
- Clean Excess Grout: Wipe off extra grout with a moist sponge before it hardens. Clean the tile surface thoroughly for a cultured finish.
- Allow to Cure: Let the grout set for the encouraged time, then buff the tiles with an easy, dry fabric.
Maintenance Tips
To maintain your tiled floor searching new:
- Clean Regularly: Use a non-abrasive cleanser to put off dust and stains.
- Seal Grout Lines: Apply a grout sealer to save you moisture penetration and discoloration.
- Inspect for Damages: Repair cracked tiles or grout right away to prevent further troubles.
Conclusion
Installing tiles is an artwork that requires precision, staying power, and the proper materials. By the usage of remarkable tile adhesives, you can ensure a durable and visually stunning end.
When it comes to selecting the exceptional tile adhesives on your assignment, Mozaic is a call you can agree with. With an extensive variety of top-rated adhesives designed for diverse tile kinds and surfaces, Mozaic merchandise guarantees superior bonding, flexibility, and ease of application.
Whether you’re a seasoned expert or a first-time DIYer, Mozaic’s dependable answers and expert guide will assist you in obtaining high-quality consequences. Elevate your tiling initiatives with Mozaic and experience the distinction in quality and performance.